
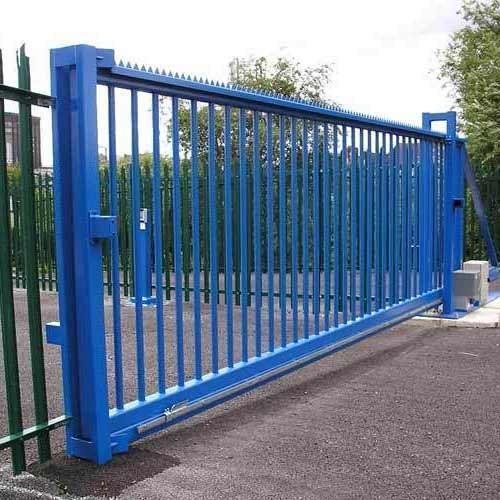
The first and possible the foremost important thing to try to is to see that yoursliding gates for driveways is running smoothly along the entire length of the track, which it’s in fitness . That is, no rust or rot. If it’s hard to push or pull, or binds on the track, fix the matter before you are doing anything. The gate must be in good working order, and not bowed.
Such an imbalance may indicate current leakage through the body of an individual who is grounded and accidentally touching the energized a part of the circuit. A lethal shock may result from these conditions. RCDs are designed to disconnect quickly enough to stop injury caused by such shocks. This work should be completed by a professional electrician. Otherwise you could fit the sort of motor which will run on solar energy. Although the initial cost of a solar kit could also be a touch quite hiring an electrician to get the cable, free electricity is usually an honest idea.
Read More: What type of NDIS strategy Management Company is best for you?
Now is the time to get the motor, a kit is typically the simplest thanks to go, as they are available with control electronics and receiver fitted internally. This manner you’ll guarantee that each one the components are compatible. It’ll accompany a base plate to secure the motor to the bottom. It’ll even have the right rack and remote controls and photocells, and most of the fittings required.
If your drive is already laid with concrete i might strongly suggest that you simply secure the plate using anchor bolts. If your drive is gravel or dirt you want to dig a hole where the motor goes to suit and fill with concrete, at an equivalent time embedding the plate into the wet mix. Do not forget to bring the facility cable up through the plate, and take another cable out for the photocells.
The position is critical. Not only must it’s perfectly level, you want to also remember to live the space from the side of the gate plus the dimensions of the rack (that’s the bar with teeth) and therefore the spacers that they’re fitted with. The rack should fit over the center of the roulette on the motor. Confirm that the gate doesn’t have any large nuts protruding from round the wheels, as these could foul the motor. Once the bottom plate is fitted you ought to ask the instructions that came with the kit. If you fitted the plate into concrete i might suggest that you simply let the combination set for two weeks before you fit the motor
When the motor is securely in situ proceed to suit the rack to the gate. This will be accomplished either by welding or screwing the rack in situ.
Table of Contents
Fitting the rack.
• Rest the primary rack element on the gear and fit it to the gate with screws and spacers, sliding the gate backwards and forwards.
• For correct positioning of subsequent piece, clamp a neighborhood the wrong way up to the primary, then subsequent piece sits on top. Fix this to the gate. Continue until beat place.
• There must be a clearance between the rack and kit of a minimum of 1 mm in order that the gate never weighs on the gear motor.
• It is vital that the gear motor is firmly secured to the bottom during the gate travel.
• Position the 2 limit stop brackets on the rack and move the gate by hand to repair them in situ.
• Fit the limit stops in order that the gate won’t knock into the mechanical stops.
Fitting the photocells.
• The photocells should be fitted about 60cm above ground level to offer protection to most cars.
Photocells or Photo Electric Beams use a beam of invisible infra-red light that passes from a transmitter unit to a receiving unit. If the beam is broken you recognize something is within the way. These are used with automatic gates on either side of a driveway as a security device to stop a gate closing. These must be fitted to all or any new installations.
There are three sorts of Photocells:
Reflector Beam – this has the transmitter and receiver on one side with a special reflector on the opposite. The advantage of the reflector beam is you simply got to run wiring to at least one side of the driveway. Reflector beams aren’t recommended for outdoor use as any rain on the reflector can stop it working.
Point to Point Beam – this is often best for Automatic Gates as there’s a transmitter on one side of the driveway and therefore the receiver on the opposite. These tend to be very reliable when used outside.
Dual Beam – which is essentially two point to point beams built- within the one unit? You want to break both beams before it’ll work. These are normally used for outdoor security perimeter alarms.
Alignment
• The important thing when installing Photocells is to form sure they’re aligned with one another. The beam of sunshine coming from the transmitter is sort of narrow, if not aimed toward the receiver properly it’s going to not work. Worse still, if they barely work, some rain on them will stop them working, which can leave the gate open.
When all the electrical connection is made make sure the gate moves correctly. Memorize the remote controls to the fitted receiver.
Follow the handbook in testing the installation. Confirm that everything is tight which there’s no movement of the motor when the gate starts and stops.


